


I am a self confessed Beauty Junkie. I dream about Make Up all the time, you can safely say. Make up is an art and like all art forms, trends always emerge. The Make Up Trend which has been taking the world by storm for the last few years, has surely been Contouring. Besides Brows On Fleek. I had attended a Beauty Master Class organised by The Blog Guild in association with Nordstrom and Anastasia Beverly Hills. It was held at the Nordstrom at Oak Park Mall in Overland Park. The class was divided into two parts. The first part was devoted to Brows. I have a detailed post with Step By Step Brow Tutorial. If you want to read about it, then click HERE.
Coming back to Contouring. I know how much of a fad contouring is. I am not blaming the Kardashian sisters, but lets face it, everyone wants a chiseled face these days. I do a fairly full face of make up but I would always consciously avoid the contouring bit. I was always scared that my face would look muddy if i could not pull it through. I did do Color Correction and Highlighting though.
As I had mentioned in the previous post. two bloggers were paired with a stylist. One blogger was selected to be the main model to showcase the techniques to us. The idea is that we would get a full demonstration, before we started to re-create it ourselves, with the supervision of our stylist. For the Contouring Class, Dana Allison Hill of Louise in Leopard was our major model. Before I proceed further, let me add that Dana is one of the most beautiful ladies I have met. After we had a ring side view of the total routine, we ventured off to play with our products. Having done the BROW ROUTINE earlier, I felt confident about tackling Contouring.
STEP BY STEP CONTOURING TUTORIAL :
Before we begin Contouring, we have to identify the three zones of our face and see which one is bigger. From the forehead to eyebrows- Zone 1, from the eyebrows to the base of nose - Zone 2, and the base of the nose to chin - Zone 3. In my case my Zone 1 and Zone 3 were similar in size wile my zone 2 was smaller. So I had to Highlight my Zone 2 to make it at par with the other zones.
We were introduced to two contouring Products by the brand. The Anastasia Beverly Hills Contour Cream Kit and the Anastasia Beverly Hills Powder Contour Kit. We started off with the Cream Contour Kit. Our Stylist Alexis is holding up the Cream Contour Kit in the two shades available : Light and Medium. Each of the palettes have six shades each and double up as eye shadows as well. Multitasking. I was matched to the Medium shade in the Cream Contouring Palette.

The two brushes we used in the Contouring Tutorails are #20 Dual Ended Brow and Liner Brush and #23 Brush .

COLOR CORRECTION:
The first step in Contouring is color correction. I have dark circles and I am sure that's a struggle most women have. We started off with the Anastasia Beverly Hills Contour Cream Kit and the #20 Dual Ended Brow and Liner Brush. Alexis taught me to use the smaller brush and pick up the Salmon Shade and the Banana shade from the palette and use the cover of the palette to mix them in.


Then Color Correct under the eyes with down ward strokes. Then I could use a damp beauty blender to blend it in. Or I could use my fingers to blend it in.

HIGHLIGHT :
Next comes Highlighting which goes on to the higher points of the face. Usually over the cheek bones.
For the Highlight I mixed in Banana and shade from the palette with the same brush - #20 Dual Ended Brow and Liner Brush ,which I had cleaned .


Then I applied a streak of the Highlighter on my Cheekbones, without going beyond my Iris. Use downward strokes to apply your highlight and blend in with a damp beauty blender or your trusty fingers.

CONTOURING :
Lastly the part I was dreading all this time. Contouring basically means to create shadows, to make your face more chiselled. To determine our contouring shade, you dip in three fingers in the palette to swatch the colors on your inner wrist. The color which is the coolest is your Contour Shade.


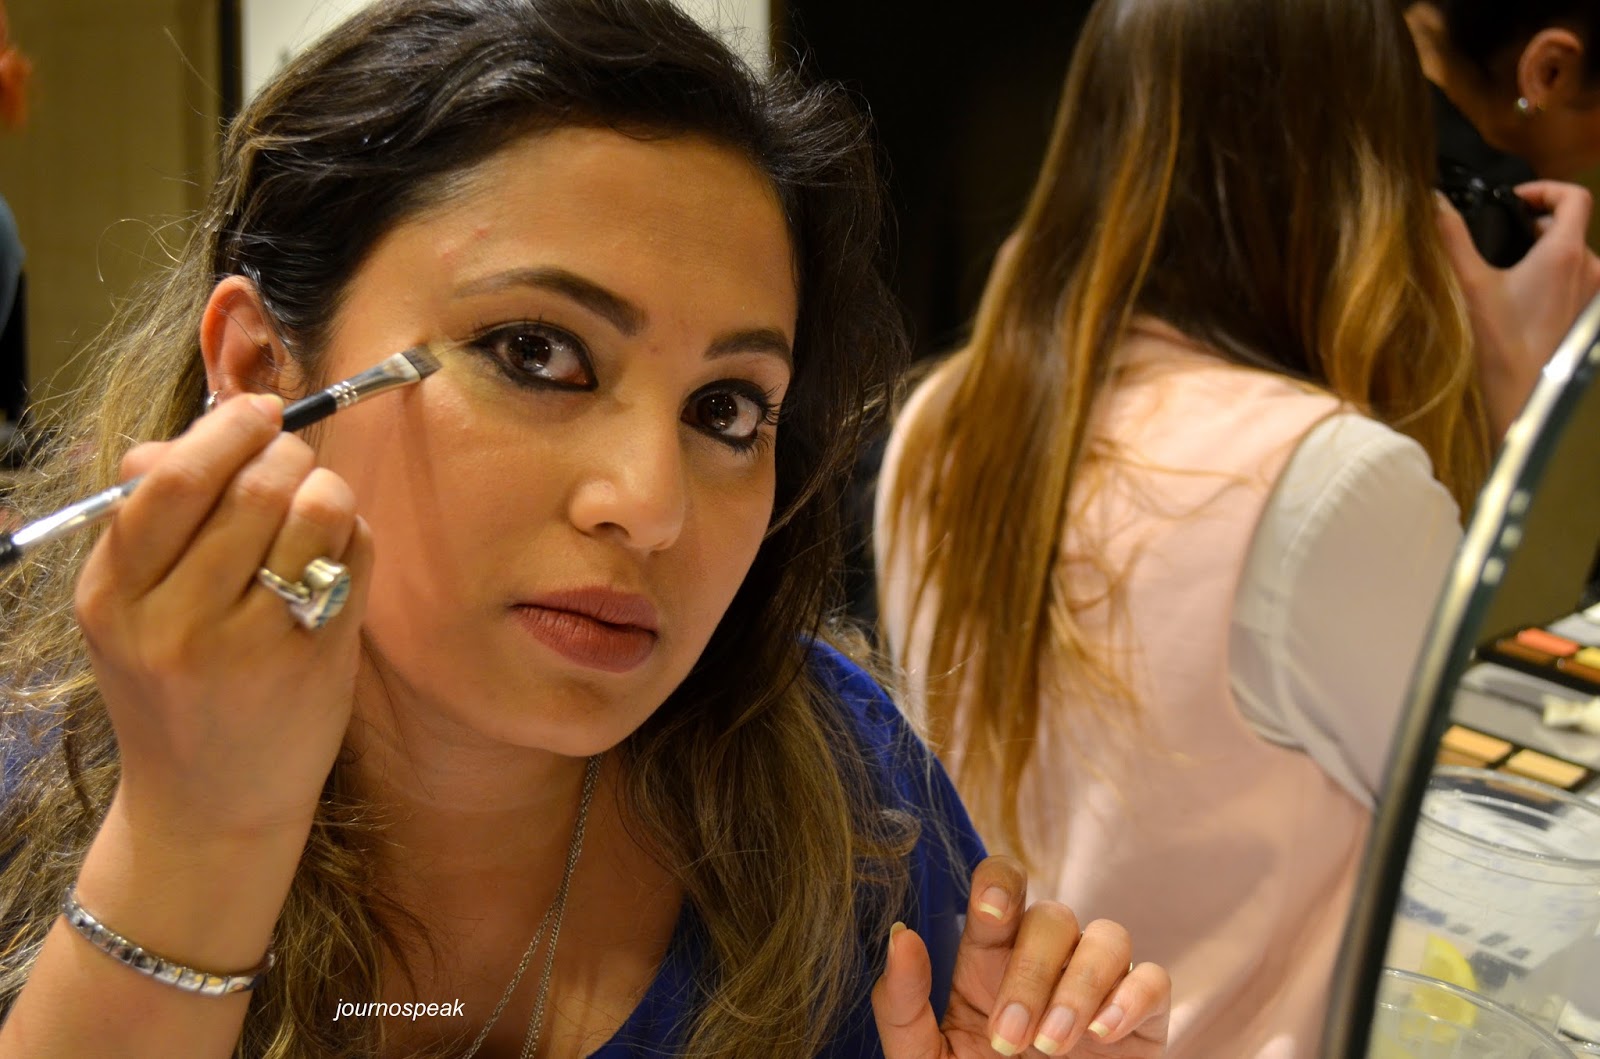
Then use the same small brush - #20 Dual Ended Brow and Liner Brush , to pick up your color and draw a link extending from where your ear starts . Do not drag it it too much in your face. This was make up myth busted. I would have never thought of contouring with such a small brush. Then use a damp beauty blender or your fingers to blend it in. Use upward strokes.


Then use the same product to draw a line where your jawline ends, and blend it in.

Then you have to seal in your contour. This is where the Anastasia Beverly Hills Powder Contour Kit and the fluffy brush - #23 Brush comes to use.


Use the Banana Powder to powder your color corrected and highlighted areas from the Anastasia Beverly Hills Powder Contour Kit . If you wanted to use Concealer over your Corrector, then do so before powdering. Use the darker powders to powder the contoured areas.


Thats my Contoured face with my Brows on Fleek. Loved both the Tutorials. Thanks to The Blog Guild yet again for such a fun event.


I tried contouring and then it is high level art for me to master at this point
ReplyDeletewww.thediystyle.com